SPIN-ON FILTER REPLACEMENT MANUAL
Replacement of spin-on oil filters is always carried out when replacing engine oil and is offered by most car repair shops. When replacing spin-on filters, the following procedure is recommended to ensure normal operation of the filter in the engine oil system, and protection against oil leakage and possible damage to the engine’s internal components.

- Lift the bonnet and unscrew the oil fill plug. Put the plug on the air filter cover or any other flat surface (this will remind you that no new engine oil has been poured in yet).
- Unscrew the oil drain plug. If there are a few of them, unscrew each one. Check the condition of the tightness of the plugs. If they are damaged, replace them with new ones.
- Remove the spin-on oil filter using a special wrench if necessary.
- Clean the surface of the filter which adheres to the engine housing, making sure that the old filter gasket has been removed. Then cover the top surface of the new filter gasket with a thin layer of clean engine oil.
Note: Never use solid lubricants for this purpose! - Carefully screw the new filter to the engine, paying particular attention to correctly align the thread. For turbocharged engines it may be necessary to fill the filter with clean oil before screwing it to the engine. Check the manufacturer's recommendations in this regard. Screw in the filter until the filter gasket touches the engine housing and then tighten according to the indications on the filter or packaging. Usually it is ¾ rotation or 1 rotation. For filters in diesel engines this may be more.
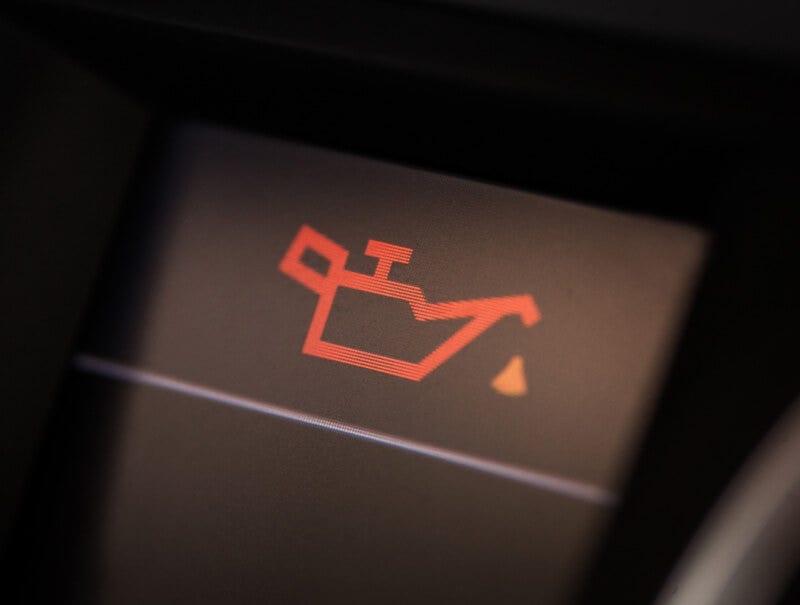
Remember - do not forcefully screw in the filter and do not exceed the recommended number of rotations! - Pour clean oil into the engine until the level recommended by the manufacturer is reached and tighten the oil filler cap. Start the engine and make sure that the oil pressure indicator has turned off or check that the oil pressure has reached the normal level on the pressure gauge if it has been installed in the vehicle.
- Turn off the engine and check if the oil level in the engine is within the manufacturer's recommended range. Top up the oil to the required level.
- Restart the engine and check for oil leaks around the filter gasket or oil drain plugs.
- Turn off the engine and close the car's bonnet.
- Ensure that the removed filter and old oil are placed in special hazardous waste containers and disposed of in an environmentally safe manner. Remember that both used filters and oil cannot be disposed of in municipal waste containers and landfills!
Based on the Filter Manufacturers Council - Technical Service Bulletin 93-3R1
---
The FILTRON range holds more than 2700 products, and covers 97% of the European passenger-car market. Mechanics appreciate the high quality of the FILTRON-brand filters. Every year, more than 36 million FILTRON filters find their way to mechanics from all the European countries.


